

Photo by Ryland Dean on Unsplash
Nuxt3 App + Serverless API on Vercel
Learn how to deploy a Nuxt3 app with API on Vercel.


Nuxt3 is currently in beta, and we received a way to write API routes as you do in NextJS. However, I didn't find a way to deploy it to Vercel, their documentation is only specifying how to deploy it as a static app.
After some research, it seems it is not that hard. Here are the steps that you can follow to do it yourself:
Step 1 - Create a Nuxt3 project
Create a new Nuxt3 app using:
npx nuxi init nuxt3-vercel
After that, cd into that directory and install the dependencies:
cd nuxt3-vercel

# Using NPM
npm install
# Using Yarn
yarn install
Step 2 - Create the API route and configure Nuxt.
Create a server folder. Inside that, an API folder with hello.ts. Copy the next snippet inside:
import type { IncomingMessage, ServerResponse } from "http";

export default async (req: IncomingMessage, res: ServerResponse) => {
  res.statusCode = 200;
  const result = {
    data: "Hello world!",
  };
  res.end(JSON.stringify(result));
};
The folder structure should be now:
📦nuxt3-vercel
 ┣ 📂node_modules
 ┣ 📂server
 ┃ ┗ 📂api
 ┃    ┗ 📜hello.ts
 ┣ 📜.gitignore
 ┣ 📜app.vue
 ┣ 📜nuxt.config.ts
 ┣ 📜package.json
 ┣ 📜README.md
 ┣ 📜tsconfig.json
Now, go to nuxt.config.ts and add the following:
import { defineNuxtConfig } from "nuxt3";

// https://v3.nuxtjs.org/docs/directory-structure/nuxt.config
export default defineNuxtConfig({
  nitro: {
    preset: "vercel",
  },
});
You can start your project by doing yarn dev or npm run dev, and you go to http://localhost:3000/api/hello you will see the response from our function 😊.
Step 3 - Pushing our code to GitHub ( you can go to step 4 if you already know how to do this )
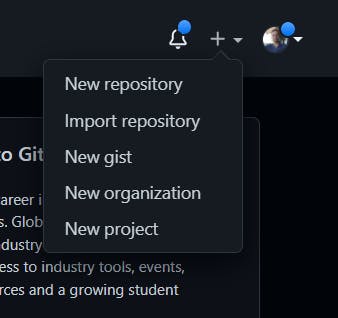
First, you need to login to your profile on GitHub and press create a new repo near your profile:
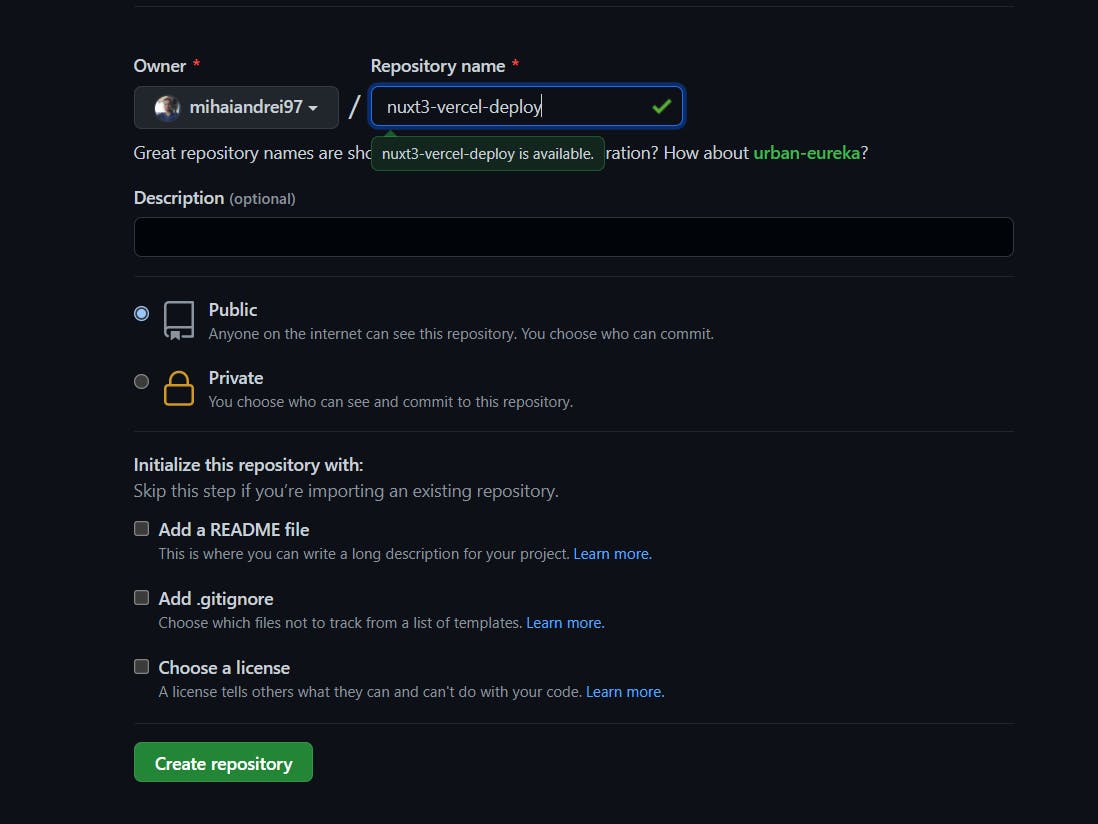
After that, you select a name for your repo and press the create button:
In the end, you can follow the instructions from the screen:
For example:
git add .
git commit -m "init"
git remote add origin https://github.com/mihaiandrei97/nuxt3-vercel-deploy.git
git branch -M main
git push -u origin main
Step 4 - Deploying to Vercel
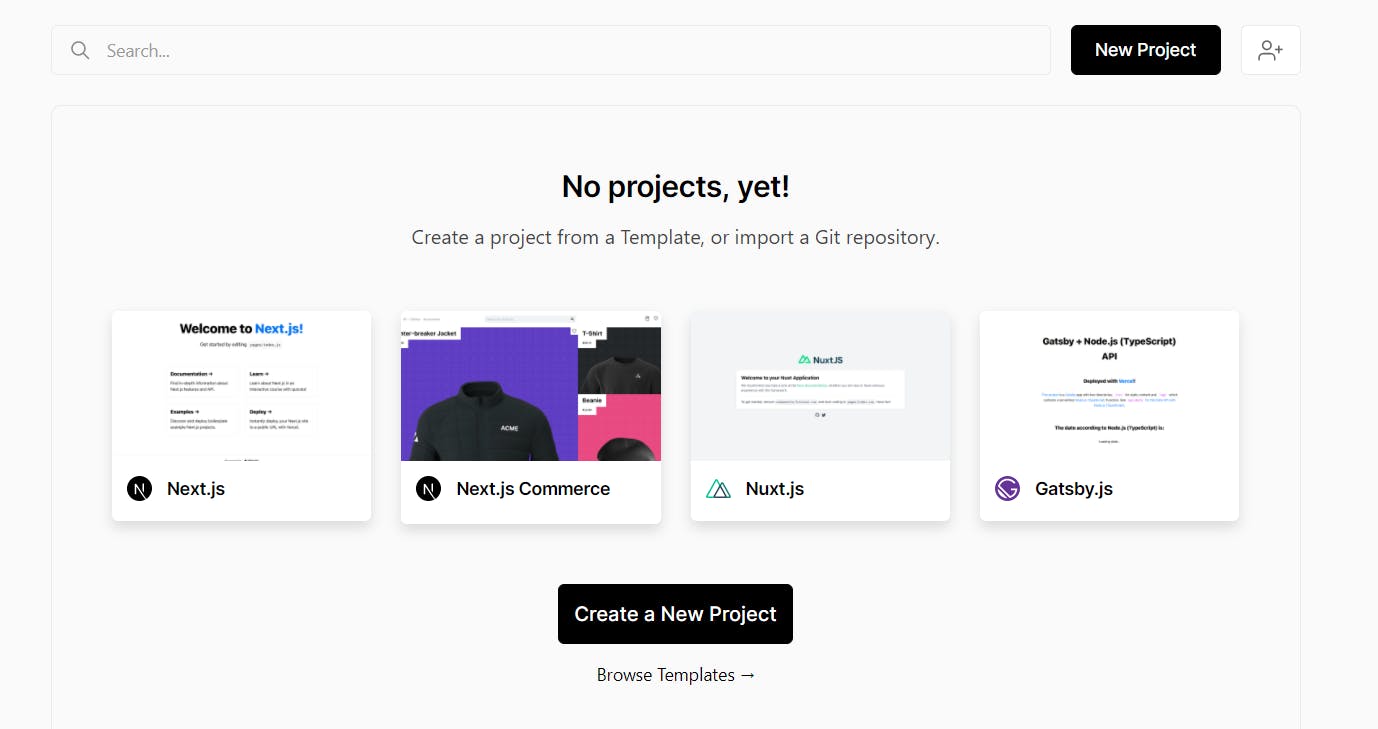
Login to Vercel and press New project.
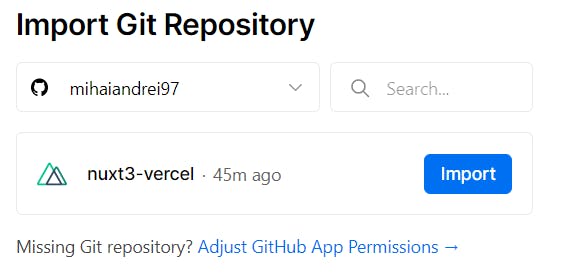
After that, select your repo and press Import.
Now, the most important step is the section Build and output settings. The build command should be yarn build or npm run build, depending on what you choose at the start of the project. The output directory needs to be .vercel_build_output (don't miss the dot here).

In the end, hit deploy, and voilà 🔥. The site is deployed.